Choosing the Instance
Type
There are many AWS Instance Types, choosing one depends the following:
is the content SD or HD?
what is the expected dominant output (HLS, Smooth, etc)?
is DRM needed?
is the output Live or VOD?
if Live, what are the bitrates ingested?
if Live what is the DVR window size (and would you plan a RAM disk for that)?
In short, ingest is IO bound, and egress first IO bound, then network and lastly CPU.
The Cloud Storage Proxy section outlines how the Unified Origin is optimised for cloud storage access, which is enabled by default since Version 1.11.14 (2022-04-04) GA.
The Cloud Storage Reducing Latency setup uses (local) caching of files. There should be enough RAM for the webserver to start processes/threads to handle cache requests.
The Cloud Storage High Availability outlines how to setup high availability / load balancing which can be complemented by following the Origin shield cache.
Lastly, the performance testing blog outlines how to create a vod setup including an installation script and a script that creates a virtual host with S3 access.
In most cases 'c' instances are best but 'r' (memory optimised) or 'i' (storage optimised) instances can be chosen as well, for instance if the use cases warrants it (e.g. large DVR window using 'i' instances with NVMe disks).
Next to the performance test blog the aws setup outlines further details regarding AWS and S3.
Setup
When you start the AMI you need to use a security group where port 80 and port 22 are enabled. The image user name is 'ubuntu' and has sudo access.
To login you need to use ssh (or similar like putty on Windows):
ssh -i your-ssh-key ubuntu@your-ec2-instance
Note
A VOD License Key is provided with the AMI.
Verify
Once the AMI has launched and became an 'instance' you should be able to direct your browser to the instance's public DNS name; such a name looks like this:
ec2-1-2-3-4.eu-west-1.compute.amazonaws.com
The website presented should look exactly the same as Features overview (and similarly stream video when clicked). The layout of the test website is described in Verify Your Setup.
On startup the AMI tries to set it's external hostname as ServerName for Apache and set the same hostname in the 'index.html' file to address all files and links (the 'index.html' file you can find in /var/www/usp-evaluation).
For this to happen your VPC needs to be setup to add DNS hostnames. In the VPC dash board select 'Edit DNS Hostnames' for the VPC you are creating the instance in:
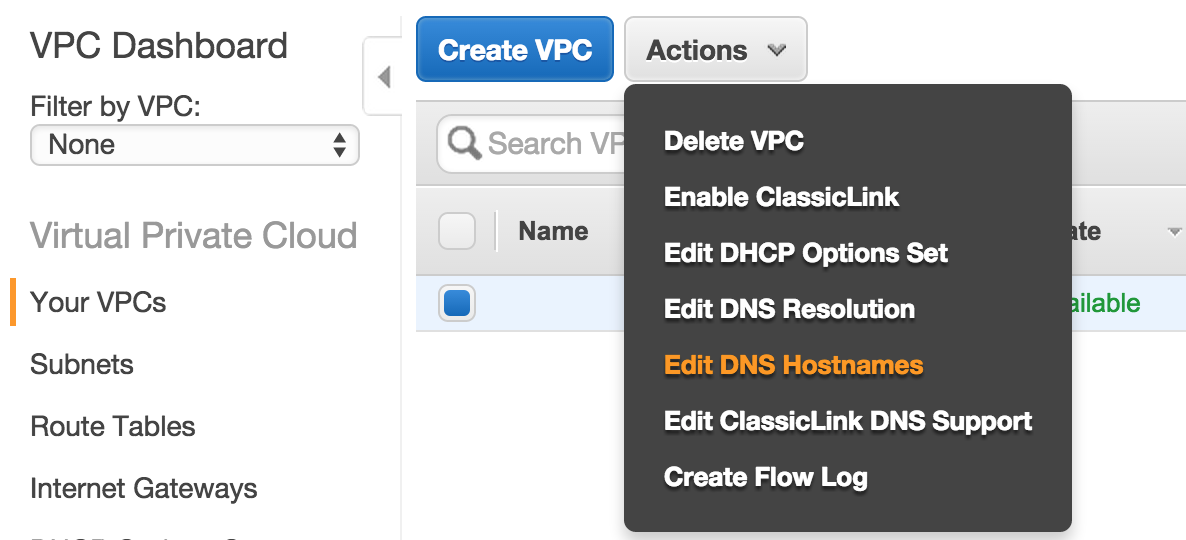
and set 'DNS Hostnames' to 'yes'. This has to be done before you start the instance.
If you want to use an 'elastic ip address' then you should edit these files to reflect that and disable the init script in /etc/init/usp-setup-hn.conf.