Getting Started
Create custom linear channels, niche and pop-up channels, pre-recorded music events, FAST services, and more from live sources and media previously prepared for VOD streaming.
Follow the steps below to create and playback a new demo virtual channel in less than 30 minutes.
Check out the prerequisites before starting the trial.
Prerequisites
Docker with Compose plugin, if not already installed see get docker.
A valid license key. If you don't have one and want to evaluate Virtual Channel you can sign up and a license key will be provided after registration.
If using a trial license, internet access on host through ports 53 and 80
Step 1: Install and run the Virtual Channel software
Start by cloning the Virtual Channel repository from GitHub and starting the Docker Compose stack:
git clone https://github.com/unifiedstreaming/virtual-channel.git

cd virtual-channel

export UspLicenseKey=<Your license key>

docker compose up -d
Note
Alternatively, you can also set the UspLicenseKey value in the .env file which is included in Virtual Channel's root folder.
Note
By default, Virtual Channel makes use of port 80 for the Origin service and port 8000 for the API service. Before attempting to run it, make sure there are not other services bound to these ports. Alternatively, you can override the ORIGIN_PORT and API_PORT environmental variables.
Wait a minute or two for all the Docker images to download and the services to start, you can view the status by checking the logs with:
docker compose logs
And checking the API is available by querying it with curl:
curl http://localhost:8000
Which should respond:
{"detail":"I'm alive!"}
Step 2: Create a channel
Now we have Virtual Channel up and running, we need to create a channel by sending a playlist to the API. In the examples directory we have provided some example playlists using our promotional content.
We'll start by creating a simple channel that loops a promo video, in this
example we are naming the channel getting_started:
curl -X PUT -H 'content-type: application/xml' \
  -d @examples/vod2live_promo.smil \
  http://localhost:8000/channels/getting_started
This should give a response with a task_id and status_url to check:
{
  "task_id": "f66847f3-cf48-45e6-a813-2df7865641d2",
  "status_url": "/channels/getting_started/status"
}
Step 3: Play the channel
Check the status of the channel creation job through the API:
curl http://localhost:8000/channels/getting_started/status
Which should give a response like:
{
  "status": "Success",
  "origin_url": "http://localhost/getting_started.isml",
  "details": [
    {
      "name": "Live channel creation job",
      "status": "Pending",
      "time": "2023-01-04T16:02:15.672908Z",
      "details": ""
    },
    {
      "name": "Live channel creation job",
      "status": "In progress",
      "time": "2023-01-04T16:02:17.707943Z",
      "details": ""
    },
    {
      "name": "Temporary SMIL file creation",
      "status": "Success",
      "time": "2023-01-04T16:02:17.715221Z",
      "details": ""
    },
    {
      "name": "Temporary ISML file creation",
      "status": "Success",
      "time": "2023-01-04T16:02:17.717934Z",
      "details": ""
    },
    {
      "name": "Unified Remix",
      "status": "In progress",
      "time": "2023-01-04T16:02:17.719666Z",
      "details": ""
    },
    {
      "name": "Unified Remix",
      "status": "Success",
      "time": "2023-01-04T16:02:20.289012Z",
      "details": ""
    },
    {
      "name": "mp4split",
      "status": "In progress",
      "time": "2023-01-04T16:02:20.291172Z",
      "details": ""
    },
    {
      "name": "mp4split",
      "status": "Success",
      "time": "2023-01-04T16:02:21.160076Z",
      "details": ""
    },
    {
      "name": "Live channel creation job",
      "status": "Success",
      "time": "2023-01-04T16:02:21.168585Z",
      "details": ""
    }
  ]
}
As the status of the job is Success, the channel is now running and can be
played. The Player URLs are based on the channel name, and can be seen
as origin_url in the status response.
You can now play the channel you've just created with either dash.js or hls.js.
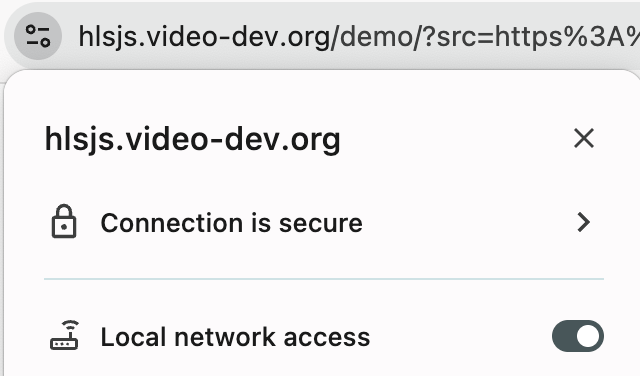
Note
Google Chrome may block access to the local network by default, to allow this and enable playback you can allow "Local network access" for the site:
What's next?
If your service is up and running correctly, you will find an extensive online documentation at http://localhost:8000/docs. It will provide you with an exhaustive list of the available endpoints and it will serve you as reference to create your API calls and define your workflow.
For instructions on how to construct different playlists and make a Virtual Channel with your own content follow the User Guide.